
By Chelsae Moore
Celebrate the most wonderful gift of all time: Jesus our Savior! And spread the joy of the Advent season with a handmade Christmas card, gift tag, or ornament!
Follow this tutorial to create your own, or click on the PDF link at the bottom to access a free printable version of these watercolor gift tags (simply print onto cardstock paper, cut out, punch a hole in the top, and add some ribbon!).
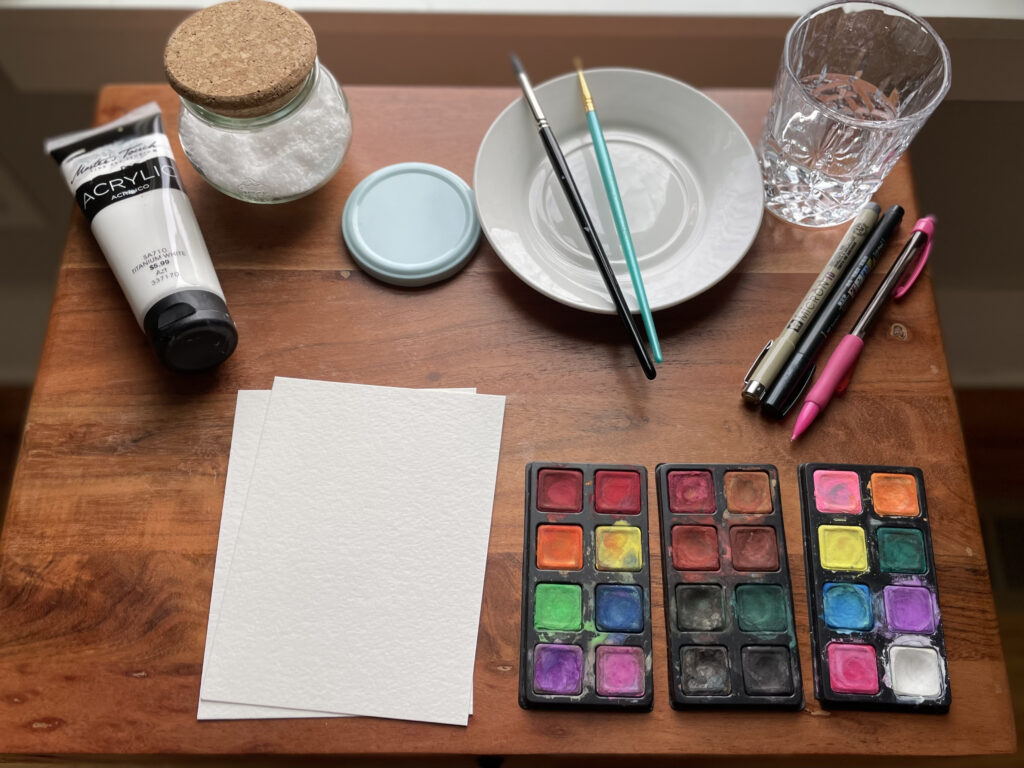
Watercolor Paper
2 Paintbrushes (sizes 6 and 0 round brushes recommended)
Watercolors (Dark Green, Blue, Purple, Brown, Black, Red)
White Acrylic Paint (or white gauche)
A Glass of Water
Pencil with Eraser
Black Pen (preferably waterproof or archival ink)
Salt (optional)
Jar Lid (or other circular object for tracing. . . unless you are comfortable free-handing a circle!)
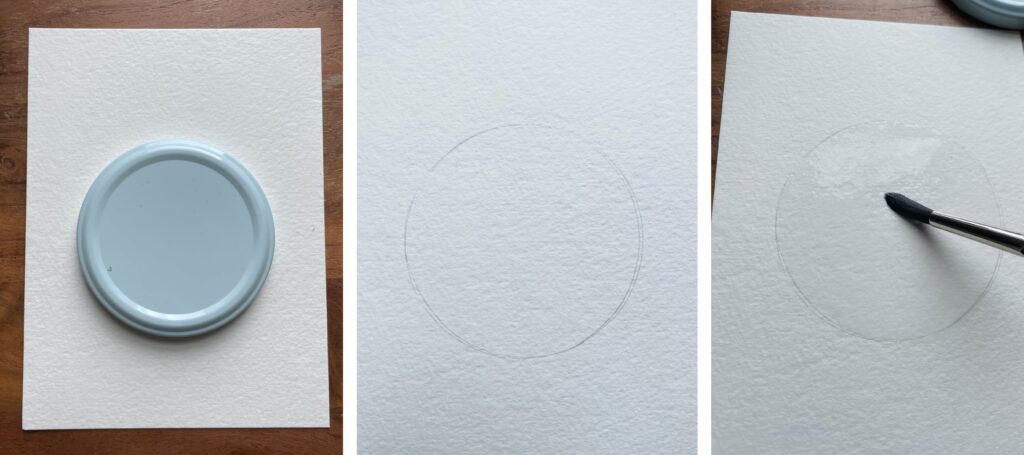
Start by tracing a circle onto the center of your watercolor paper.
Fill the inside of the circle with just water.
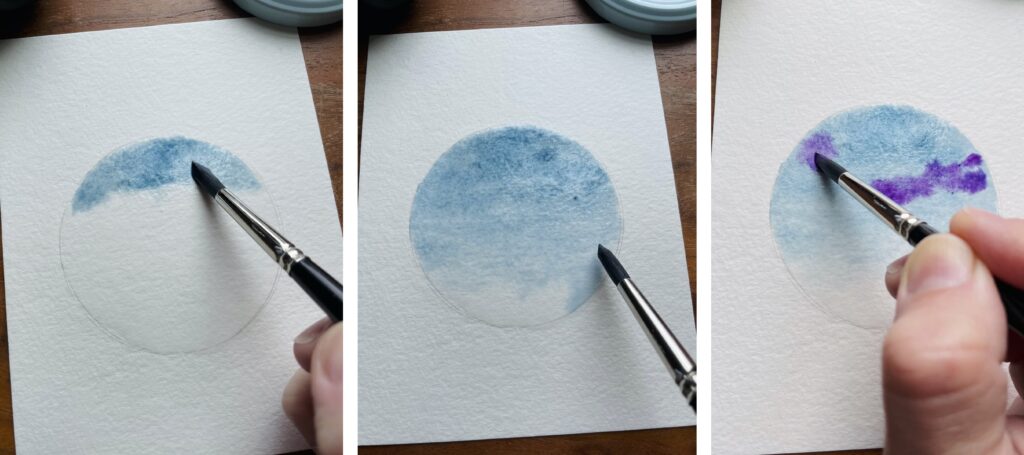
Mix a concentrated blue color onto your paintbrush, and beginning at the top of the circle, work your way down with the brush, back and forth, staying within the outline of the circle. Stop when you are about a third from the bottom (if you add too much blue and don’t have enough white space left at the bottom third of the circle, just tip the paper back a little and let the color run towards the top of the circle again). Be careful not to let the color leave the circle!
Using small circular strokes, add some wisps of purple (avoid straight lines) to either side of the top portion of the circle, working towards the center, but not going all the way across. At this point, you can sprinkle just a dash of salt onto the surface, if you’d like. As the watercolor dries, color concentrates around the salt, giving a little starburst effect.
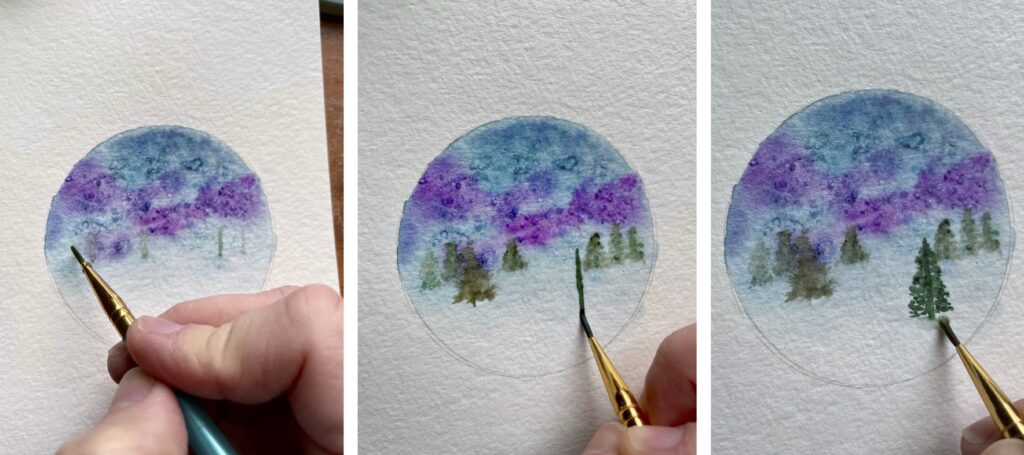
When the surface is mostly dry, add some “distant” trees by picking up some diluted green and drawing a few lines down to about the center of the circle. Then starting from the top of the line, zig zag gently to the bottom, widening the strokes slightly to suggest tree shapes. As the color bleeds, these will be the misty, less visible trees far away. Allow this portion to dry completely.
Begin increasing the opacity (more paint, less water) of the tree colors. Add in a bit of blue to the green for depth and place tree trunks farther down the circle laterally, stretching them a bit longer (the size, the deepening color and definition, and the placement on the lower portion of the circle brings your trees “closer”). Keep tapping in evergreen branches beginning lightly at the top and going back and forth down the trunk, widening and moving in a slightly diagonal direction. Don’t be afraid to leave some gaps on the trunk (real trees are rarely perfect).
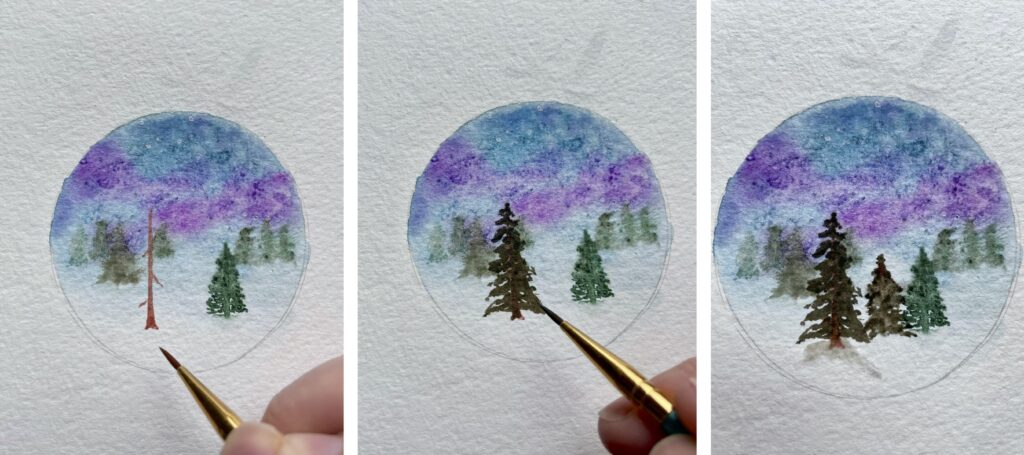
Try switching to dark brown or black for the trunks of your nearest trees, increasing the color concentration of the dark green and blue (perhaps even some black). Place the tallest, “nearest” tree off-center, giving it the deepest color (when it is dry, you can even tap back over it in a few places with a lighter color green to give it a bit more definition).
Pick up some water with your brush and pull some of the color from the bottoms of the trees down and outward in little hill shapes (this softens the edges and provides some shadow effects). Add some extra trees in any glaring gaps, keeping in mind that “far” trees are going to be more diluted and less defined than “near” trees. But again, don’t be afraid to leave some empty space. With some white acrylic, add some snow “swoops” using light pressure around the tree shadows in the shape of small hills. Tap in a few snow spots onto your “near” trees.
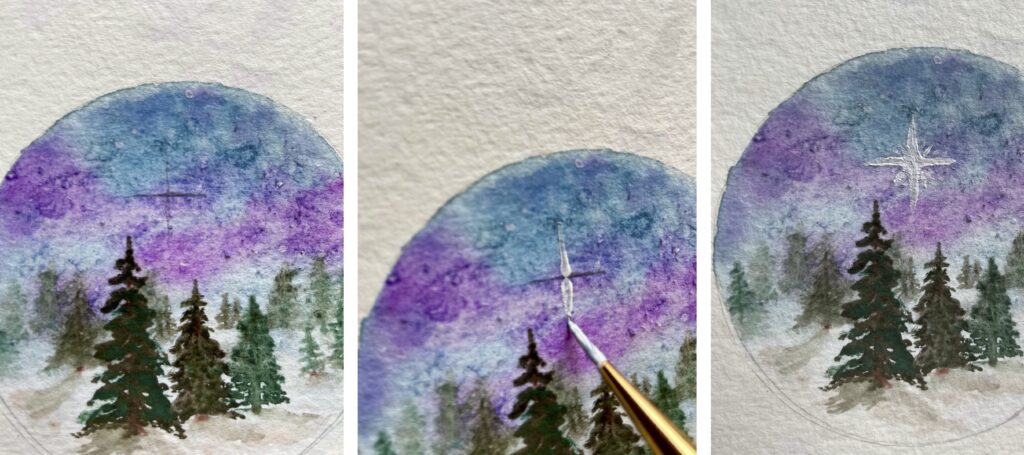
Sketch a “t” shape in the sky with pencil, and using white acrylic paint, add a star by starting in the center of the cross and dragging with light pressure to a point at the ends. Add some extra small strokes between the four large strokes to make the star “burst.” You can also flick in some star (or snow!) specks with the white acrylic or add tiny star dots with your fine paintbrush.
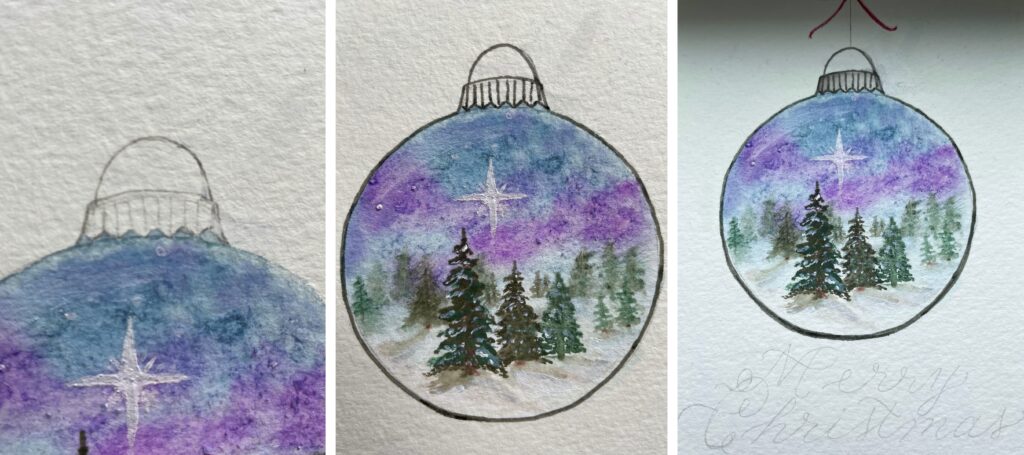
Sketch a bauble (ornament) cap onto the top of the circle, then outline the entire piece with a black pen. Make a light gray color with diluted black and fill in the ornament cap (do this step BEFORE tracing the outline with your black pen and let it dry completely if your pen is not bleed proof!). When everything is COMPLETELY dry, gently erase any visible pencil markings.
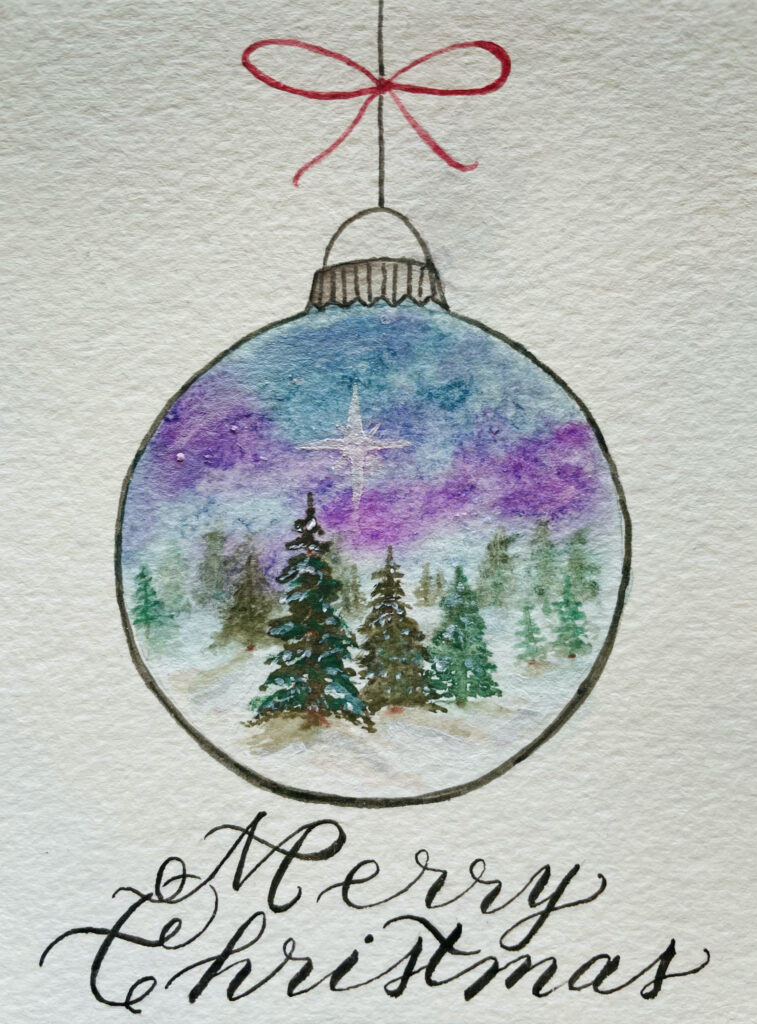
If you want, you can stop here and cut out the shape for a unique card, gift tag, or ornament. Or you can add a string and a simple bow to the top and a greeting to the bottom to fill in the space on the card. I hope you enjoy a peaceful time of creating and reflecting on the good gifts of our Savior this Advent season!
About the Artist

Chelsae Moore has her mom to thank for drilling her on famous masterpieces from the moment she could say, “Mona Lisa,” thus instilling in her a love for various art forms at an early age. Chelsae resides on Signal Mountain with her husband and two sweet kiddos. She sneaks away to her art studio to play with watercolors and practice calligraphy when the laundry and dishes are done (and sometimes when they’re not).